
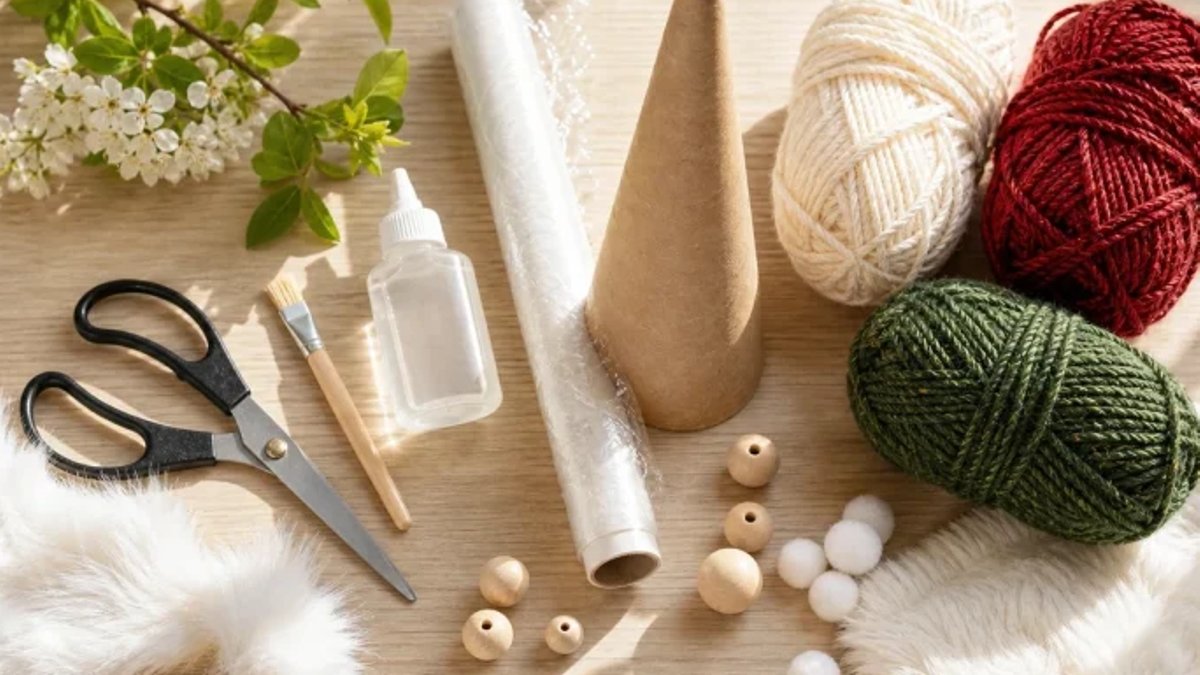
A cardboard cone, yarn, and craft glue are all it takes to create a group of yarn gnomes with pointy hats, fluffy beards, and wooden noses. The process allows for customization in colors and sizes, making each gnome unique.
Gathering Supplies for Yarn Gnomes
The supply list is straightforward: yarn, a cone-shaped form, plastic wrap, craft glue, and wooden beads. Most of these items are likely already on hand, with the rest available at craft stores like Michaels or Hobby Lobby. A brush for spreading glue, scissors, and materials for the beard such as faux fur or wool roving are also necessary. Optional decorative items include felt scraps, mini pompoms, and other trims.
For a varied group, use yarn in multiple colors and cones of different heights. This approach creates a collected look rather than a uniform set. A multi-size cone set is often more cost-effective than buying individual cones.
Building the Yarn Shell
The gnome’s lacy hat is formed by wrapping glue-stiffened yarn around a cone in a net-like pattern. One rule matters more than any other: the shell has to be bone dry before removing it from the form. Begin by wrapping the cone in plastic wrap to create a release layer. This step is key—without it, the dried yarn bonds directly to the cardboard and tears when pulled.
Next, brush glue onto the wrap and wind the yarn around the cone in crossing directions, leaving small gaps between strands. These intersections provide strength to the shell once dry. A net with gaps of different sizes looks handmade and interesting; a perfectly uniform wrap reads like a lampshade. Let the shell dry completely, overnight is rarely a mistake, as the glue must cure fully to maintain the shell’s structure.
After the shell is fully dried, carefully remove it from the cone and peel away the plastic wrap. If any strands come loose, repair them with a dab of glue and let them dry before proceeding. Attach a beard made of faux fur or wool roving just below the point of the hat, followed by a wooden bead nose to conceal the beard’s top edge. Hold the pieces in place for a minute while they set to ensure nothing shifts.
To finish, add decorative elements like pompoms or felt trim to the hat. Ensure the gnome is stable by testing it on a flat surface before display.
Decorating and Displaying Your Yarn Gnomes
Once the basic gnome structure is complete, it’s time to add personal touches. Attach a pompom or felt trim to the hat for a festive look. Mixing beard lengths and nose sizes across the group keeps them from looking like clones.


