
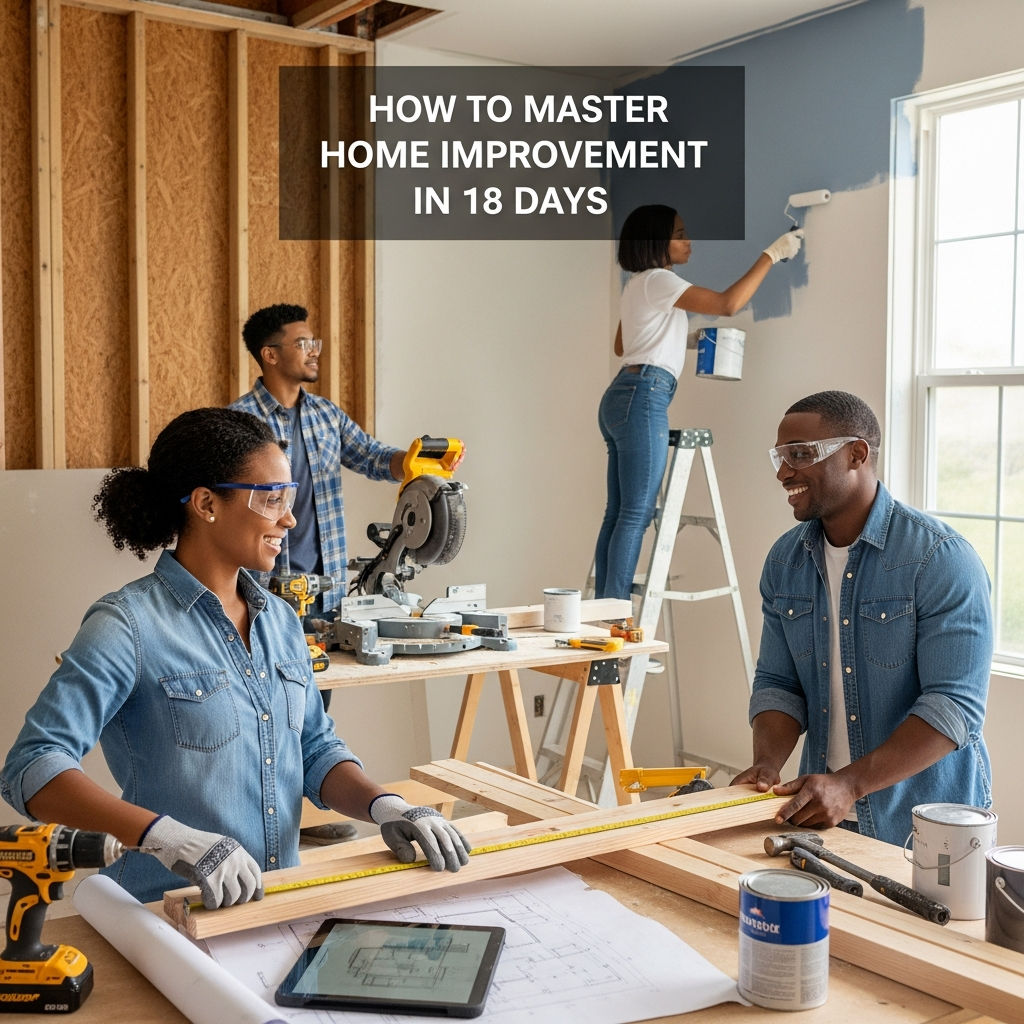
Mastering Home Improvement in 18 Days: The Ultimate Fast-Track Guide
“`html
Mastering Home Improvement in 18 Days: The Ultimate Fast-Track Guide
The dream of a perfect home often feels like a marathon that never ends. We’ve all seen the television shows where an entire house is transformed in a week, only to look at our own peeling paint or outdated fixtures and feel overwhelmed. However, you don’t need years of apprenticeship or a six-figure budget to revitalize your living space. You simply need a structured plan.
In this guide, we break down how to master the art of home improvement in just 18 days. This isn’t about rushing through a “flip”; it’s about concentrated skill-building and high-impact projects that increase your home’s value and your own DIY confidence. By following this timeline, you will transition from a cautious homeowner to a capable handyman.
Phase 1: The Foundation and Planning (Days 1–3)
Before you pick up a hammer, you must pick up a pencil. The first three days are dedicated to the “mental” side of home improvement. Mastering this phase ensures you don’t run out of money or patience halfway through.
- Day 1: The Audit and Goal Setting. Walk through every room of your house with a critical eye. Create three columns: Cosmetic (paint, hardware), Functional (leaky faucets, loose hinges), and Structural (major repairs). For this 18-day sprint, focus heavily on Cosmetic and Functional.
- Day 2: Budgeting and Tool Acquisition. Home improvement is expensive only if you buy the wrong things. Invest in a high-quality “Starter Kit”: a cordless drill, a level, a multi-bit screwdriver, a hammer, and a utility knife. Learn the difference between “cheap” and “value.”
- Day 3: Safety and Skill Practice. Watch tutorials on basic skills like finding a stud, using a miter saw, and applying caulk. Practice on scrap wood before touching your walls. Remember: measure twice, cut once.
Phase 2: The Power of Paint and Light (Days 4–7)
If you want to see the biggest change for the least amount of money, you must master the “Surface Layer.” This phase focuses on the visual atmosphere of your home.
Day 4–5: Professional Painting Techniques
Painting is the most common DIY project, yet it is often done poorly. To master this, you must focus 70% of your time on preparation. On Day 4, wash the walls, patch holes with spackle, and sand them smooth. Tape off your edges with high-quality painter’s tape. On Day 5, apply your primer and paint. Mastering the “cut-in” technique—using a brush to paint edges without tape—is a hallmark of a home improvement expert.
Day 6: Lighting and Electrical Atmosphere
Changing a light fixture is a daunting task for beginners, but it is a fundamental skill. Learn how to safely turn off the breaker and use a voltage tester. Swapping an outdated “boob light” for a modern pendant or a chic chandelier can instantly modernize a room. Also, consider replacing old, yellowed outlets and switches with clean, white rockers.
Day 7: The “Jewelry” of the Home
Hardware is the jewelry of your house. Spend this day replacing old cabinet pulls, door handles, and hinges. Consistency is key here—choose a finish (like matte black or brushed gold) and carry it through the home for a cohesive, designer look.
Phase 3: Functional Upgrades (Days 8–12)
Now that the home looks better, it’s time to make it work better. This phase moves into more technical territory, focusing on the kitchen, bathroom, and floors.
- Day 8–9: The Kitchen Refresh. You don’t need a full remodel to have a “new” kitchen. Use these two days to install a “peel-and-stick” tile backsplash (a great entry-level project) or deep clean and re-caulk the sink area. If you’re feeling ambitious, use specialized cabinet paint to refresh the island.
- Day 10–11: Flooring Mastery. While laying hardwood is a pro-level job, Luxury Vinyl Plank (LVP) is incredibly DIY-friendly. It clicks together like Lego. Use these days to tackle a small room, like a laundry room or half-bath. Learning how to navigate corners and doorways with flooring is a massive skill milestone.
- Day 12: Bathroom Modernization. Replace an old showerhead with a rainfall model and swap out the faucet. These plumbing tasks are surprisingly simple once you understand how to use a pipe wrench and Teflon tape.
Phase 4: Curb Appeal and Exteriors (Days 13–16)
The exterior of your home is the first thing people see, and it dictates your property’s value. Mastering home improvement means knowing how to maintain the outside just as well as the inside.
Day 13–14: The Entrance Transformation
Your front door is the focal point. Sand it down and paint it a bold, welcoming color. Replace the old kickplate and the house numbers with modern, high-visibility versions. This 48-hour project can add thousands to your home’s perceived value.
Day 15–16: Landscaping and Cleaning
Rent a pressure washer. This tool is the “magic eraser” of the DIY world. Clean your siding, your driveway, and your porch. On Day 16, focus on “hardscaping”—add fresh mulch to flower beds, prune overgrown bushes, and define the edges of your lawn. Neatness often matters more than expensive plants.
Phase 5: The Finishing Touches (Days 17–18)
The difference between a “DIY job” and a “professional job” is in the final 5%. These last two days are about refinement.
- Day 17: The Snag List. Walk through the house with a roll of blue tape. Everywhere you see a paint drip, a gap in the caulk, or a loose screw, place a piece of tape. Spend the day systematically fixing every single one.
- Day 18: Staging and Organization. Now that the work is done, master the art of “decluttering.” Organize your new tools into a permanent workshop area. Hang your artwork at eye level (57 inches is the gallery standard). Take “after” photos to document your journey.
Conclusion: The Lifelong Skill of Home Improvement
Mastering home improvement in 18 days isn’t about knowing everything; it’s about overcoming the fear of starting. In less than three weeks, you’ve learned how to prep surfaces, handle power tools, understand basic electrical and plumbing, and improve your home’s aesthetic value.
The true “mastery” comes from the realization that your home is a living project. By taking the initiative to learn these skills now, you save yourself thousands of dollars in contractor fees and gain the immense satisfaction of saying, “I built that.” Whether you plan to sell your home or stay for decades, these 18 days will serve as the foundation for a lifetime of better living.
“`